Red Worm Fishing Bait: The Ultimate Guide to Formulas, Techniques & Tips
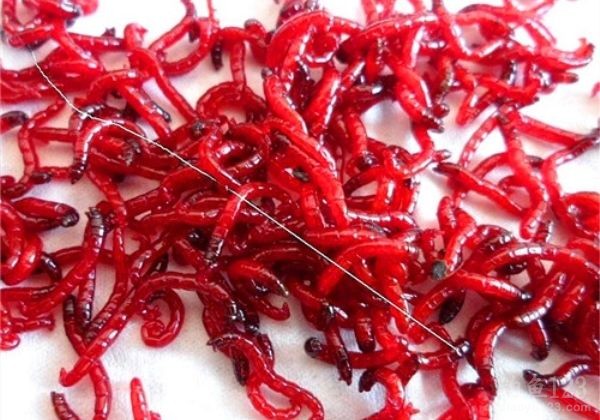
Alright, fellow anglers, let’s talk about a secret weapon that’s been slaying fish for ages but doesn’t always get the spotlight it deserves. I’m talking about the humble, wiggly, and incredibly effective red worm bait. If you’ve got a bit of fishing experience under your belt, you’ve probably dabbled with it. And if you haven’t? Man, you’re missing out. While the classic earthworm gets all the fame, the red worm is like its hyperactive, super-attractive cousin that fish just can’t resist. Especially right now, when the weather is warming up but hasn’t hit the brutal summer heat yet, fish are active and hungry. This is the PERFECT time to break out the red worms. Today, I’m dumping all my hard-earned knowledge on how to use these little crimson dynamos to absolutely crush it on your next fishing trip. Get ready for some serious hook-ups.
Why Red Worms Are a Must-Have in Your Tackle Box
Let’s cut to the chase. Why bother with red worms? Simple: they work. They work incredibly well. Think of them as nature’s ultimate fish candy. They have a strong, natural scent and a lively movement in the water that triggers predatory instincts like nothing else. The result? Faster bites and more fish in your net, which honestly, is the whole point, right? Efficiency is key, and red worms deliver. In these transitional seasons (late spring, early fall, cool summer mornings), when fish metabolism is high, presenting a juicy, natural protein source like a red worm is often the difference between a slow day and a legendary one. It’s a no-brainer.
Mastering the Art of the Hook: Red Worm Rigging Techniques
This is where the rubber meets the road. How you put that worm on the hook is crucial. It’s not just about impaling it; it’s about presentation. Do it wrong, and you’ll have a lifeless lump. Do it right, and you’ve got an irresistible, wiggling feast.
The Straight Hook Method (Single or Multiple)
The most straightforward technique. You just… hook it. But there’s nuance here, people!
- The Single Hook: Perfect for finesse fishing. Gently thread the hook through the head or the middle section of one red worm. This is my absolute go-to for species like crappie, bluegill, and perch. It presents a natural, subtle snack that cautious biters love.
- The Gang Hook (Multiple Worms): Feeling aggressive? Want to target bigger, hungrier fish? Bundle up! Hook 3, 4, or even 5 red worms onto a single hook, creating a wriggling, meaty cluster. This is prime bait for channel catfish, larger bass, or carp. It creates a bigger visual profile and releases more scent. Pro tip: hook them at different angles to make the bundle look more natural and “alive.”
So, how many should you use? It’s not random; it’s tactical. Match the hatch to the fish’s mood. If you’re in a spot teeming with fish and they’re biting like crazy, a single worm is efficient and saves your bait supply. If the bite is slow or you’re targeting lunkers, that juicy multi-worm cluster is your ticket. Always, always read the water and the fish’s behavior.

The “Meat and Bread” Combo (A.K.A. The Red Worm “Burrito”)
Now, this is where we get creative. Why choose between natural bait and manufactured bait when you can have the best of both worlds? Enter the legendary “Meat and Bread” or “Red Worm Burrito” technique. It’s a game-changer, especially in tricky conditions.
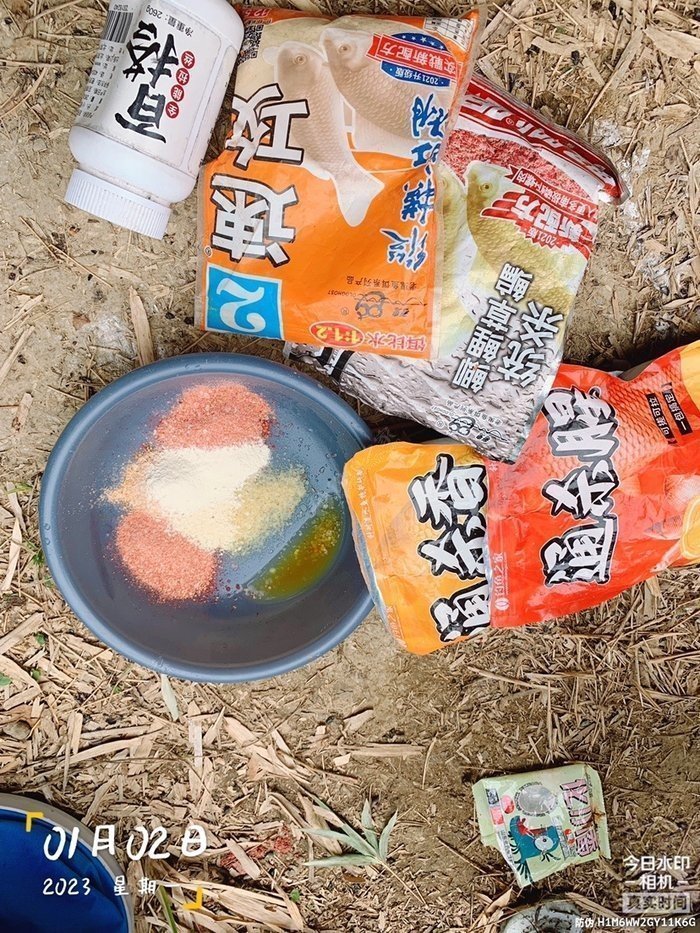
The idea is simple: mix your live red worms directly into a prepared dough or paste bait. You’re essentially creating a super-bait. The manufactured bait (the “bread”) provides a strong, sweet, or savory base scent and flavor that disperses in the water, creating a scent trail. The red worms (the “meat”) provide the irresistible visual and tactile trigger. Fish follow the scent cloud, see the wiggling goodness, and BAM – hookset.
You can use this mix as a pinch bait or, even better, add a binder like bread flour or a commercial binder to create a dough ball. Mold it around your hook, ensuring a worm or two is peeking out. This method is brutally effective for carp, tench, and big bottom-feeding species. The combination of scent and movement is almost unfair.
Level Up: The Red Worm and Groundbait “Meatloaf”
This is the advanced class. We’re taking the “Burrito” and turning it into a full-course meal. This involves mixing red worms with dry groundbait mix.
- Get Your Mix: Start with your favorite dry groundbait or method mix. Something with a fine particle size and good clouding effect is ideal.
- Add the Star Ingredient: Take a handful of lively red worms and gently mix them into the dry powder. Don’t stir aggressively; you don’t want to hurt them.
- Hydrate: Slowly add water and mix until you achieve your desired consistency. For a method feeder ball, you want it sticky enough to mold firmly around a feeder. For a loose feed to introduce a swim, you can make it slightly wetter and cloudier.
- Deploy: Pack this “meatloaf” around your feeder or hook it. As it hits the water and breaks down, it creates an incredible sensory explosion: a scent cloud from the groundbait AND wriggling red worms scattering in the feed zone. It attracts fish from a distance and holds them in your swim. This technique is deadly for bream, roach, and F1 hybrids in commercial fisheries.
The beauty? The groundbait attracts, and the free offerings (the loose worms) keep them grubbing on the bottom right where your hook bait is. It’s a one-two punch that rarely fails.
Non-Negotiable Prep: How to Handle and Store Red Worms
Listen up, because this is important for your safety and your success. Red worms are awesome, but they come from rich, organic environments… which can mean bacteria. A little prep goes a long way.
The Cleaning Ritual (Don’t Skip This!)
When you get your worms home, don’t just dump them in a tub. Give them a spa day. Seriously.
- Gear Up: Put on some disposable gloves. It’s just smart.
- The Saltwater Bath: Prepare a container with a fairly strong saltwater solution. Not ocean-level, but a good few tablespoons per liter of water. Gently place your worms in. The salt encourages them to purge any grit or impurities from their systems. The heavier debris and any dead worms will sink or separate.
- Rinse & Repeat: After 15-20 minutes, carefully pour off the dirty water, keeping the worms in the container. Refill with fresh saltwater and repeat. Do this 2-3 times until the water stays relatively clear.
- The Final Rinse: Now, give them a final rinse with clean, chlorine-free water (pond water or dechlorinated tap water is perfect). Use a net with large holes to scoop them out, leaving the last bits of gunk behind.
Storage for Maximum Liveliness
You want lively worms, not sad, limp ones. Store them in a breathable container (a dedicated worm box with ventilation holes is best) filled with a moist storage medium. I use a mix of peat moss and a handful of cornmeal. Keep them in the refrigerator (not the freezer!). The cool temperature slows their metabolism, keeping them fresh and wiggly for weeks. Check on them every few days, removing any dead ones and remoistening the bedding if it dries out.
A CRITICAL SAFETY WARNING
I need to shout this from the rooftops: If you have any cuts, scrapes, or open wounds on your hands, DO NOT handle red worms without waterproof gloves. The bacteria in their environment can cause serious infections. Even if your hands are perfectly intact, wash them thoroughly with soap and hot water after handling your bait and before you touch your food or your face. It’s a simple habit that prevents potential problems. Safety first, always.
Putting It All Together: Tactics for Different Scenarios
Let’s translate these techniques into real-world fishing.
Scenario 1: The Finesse Panfish Session
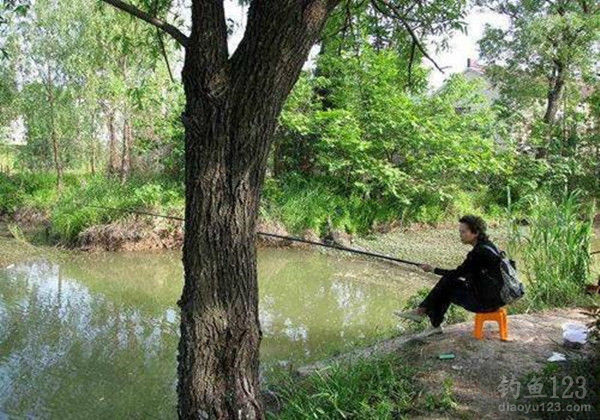
You’re at a pond targeting bluegill and crappie. Use a light wire hook (size 10-14). Hook a single, lively red worm through the head. Use a small float or a slow-sinking rig. The key is subtle, natural presentation. Let it sink slowly, imparting tiny twitches. Watch that float dip or feel for the delicate tap-tap. It’s pure fun.
Scenario 2: The Big Bottom Feeder Hunt
You’re after carp or big catfish. Go heavier. A size 6-2 hook is perfect. Create a “Meat and Bread” dough ball or pack your hook with a multi-worm cluster. Use a sinker rig or a method feeder to get it right on the bottom. Cast it out, set your rod in a holder, and wait for that rod to thump over. Patience is key here, but the reward is worth it.
Scenario 3: The Commercial Fishery Match
You’re at a stocked lake, and speed is the name of the game. This is where the Red Worm “Meatloaf” shines. Mix a large batch of groundbait and worms. Use a method feeder or a small cage feeder packed with the mix. Cast to the same spot consistently to build a feeding zone. The fish will swarm the area, and you’ll be pulling them in one after another.
So there you have it, my complete, unfiltered guide to dominating with red worm bait. It’s not just about putting a worm on a hook; it’s about understanding the “why” and the “how” to make the fish think they’ve found the easiest meal of their lives. I’ve spent countless hours on the bank fine-tuning these methods, and they’ve filled my net more times than I can count.
I really hope this deep dive helps you put more fish on the bank. Fishing is all about sharing what works, so if you’ve got your own killer red worm trick or a different twist on these methods, I’d love to hear about it. Drop a comment somewhere and let’s chat. Now get out there, get your worms prepped, and go show those fish who’s boss. Tight lines, everyone, and may your sessions be full of bent rods and heavy nets!