
How to Make Homemade Fishing Chum: A Step-by-Step Guide to DIY Fishing Bait Mix
Let’s be real—store-bought fishing chum can be hit or miss. Sometimes it’s too pricey, sometimes it doesn’t have that extra oomph to lure in the big ones. That’s why I decided to dive into making my own homemade fishing chum (or “bait mix,” as some folks call it) last month. I’m no pro, but after tinkering with a few recipes, I landed on a simple, effective mix that’s been working wonders on my local lake. Let me walk you through exactly how I do it—no fancy gear, just stuff you can grab at the grocery store or tackle shop.
Why Homemade Fishing Chum? (Spoiler: It’s Cheaper & More Effective)
First off, let’s talk about the perks. Store-bought chum can cost $10-$15 a bag, and half the time, it dissolves too fast or doesn’t have the right scent profile for the fish in your spot. Homemade chum? You control every ingredient. Want more garlic? Add it. Want a slower dissolve rate? Tweak the mix. Plus, it’s way cheaper—this recipe I’m sharing makes about 5-6 pounds of chum for under $20. That’s a steal.
Another thing: I’ve noticed that fish seem to go crazy for the “natural” stuff. Store-bought chum often has preservatives or artificial scents that might turn them off. My homemade mix uses simple ingredients like cracked corn, sweet feed, and a few secret (but easy) additions that mimic what fish naturally eat. Trust me—you’ll see the difference when you cast that first batch.
What You’ll Need for Your Homemade Fishing Chum
Before we get started, let’s gather all the supplies. You don’t need anything fancy—just these basics:
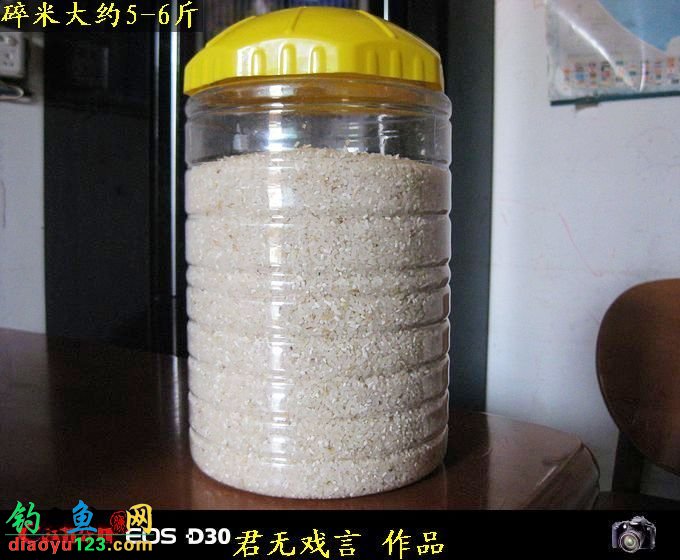
- 5-6 pounds of cracked corn (this is the base—you can find it at farm supply stores or even some grocery stores)
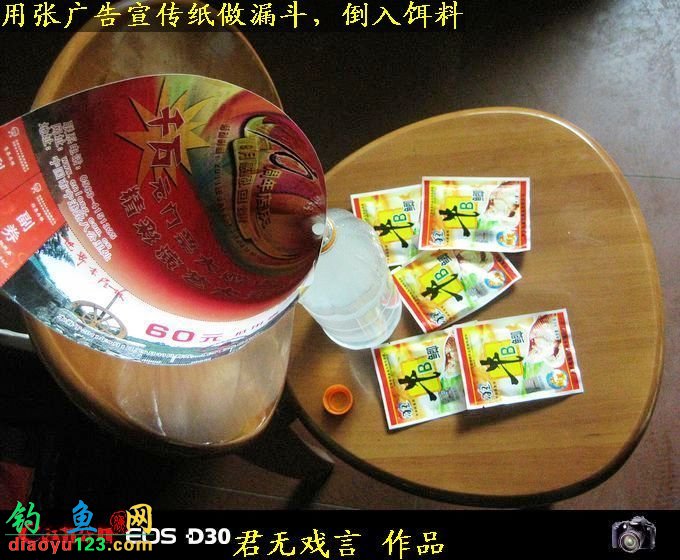
- 5 small packets of commercial fishing chum (wait, why store-bought? I’ll explain in a sec—this adds a pre-made scent boost)
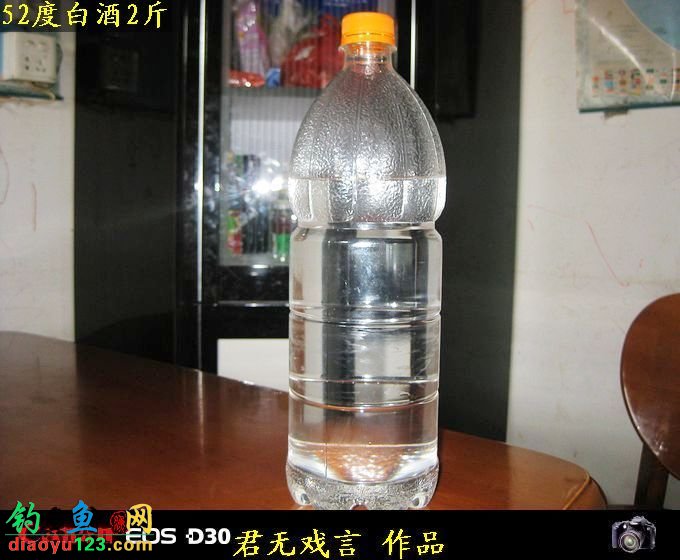
- 2 liters of 52-proof bourbon (or any strong, sweet-smelling alcohol—whiskey works too!)
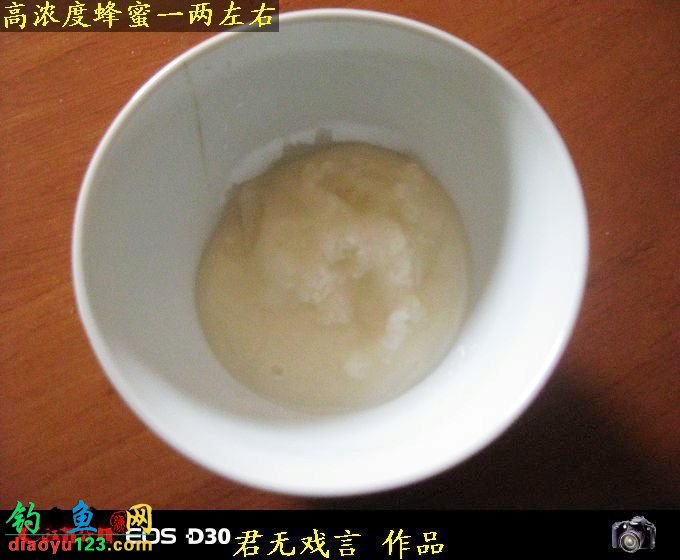
- 1 ounce of high-concentration honey (the thicker, the better—this adds sweetness that fish love)
- A large plastic bucket with a lid (for mixing)
- A smaller bottle (for pre-mixing the liquid ingredients)
- A spoon or stir stick (to mix everything up)
Quick note: The commercial chum packets are optional, but I swear by them. They add a pre-made fish attractant that’s hard to replicate at home. Just pick a brand that’s popular in your area—if local anglers love it, the fish probably do too.
Step-by-Step: How to Mix Your Homemade Fishing Chum
Okay, let’s get to the fun part—actually making the chum. I’ve broken this down into 3 easy steps, so even if you’re a total newbie, you can follow along.
Step 1: Pre-Mix the Liquid “Magic”
First, we’re going to make a liquid base that infuses the chum with scent and flavor. Here’s how:
- Pour the 2 liters of bourbon into your smaller bottle.
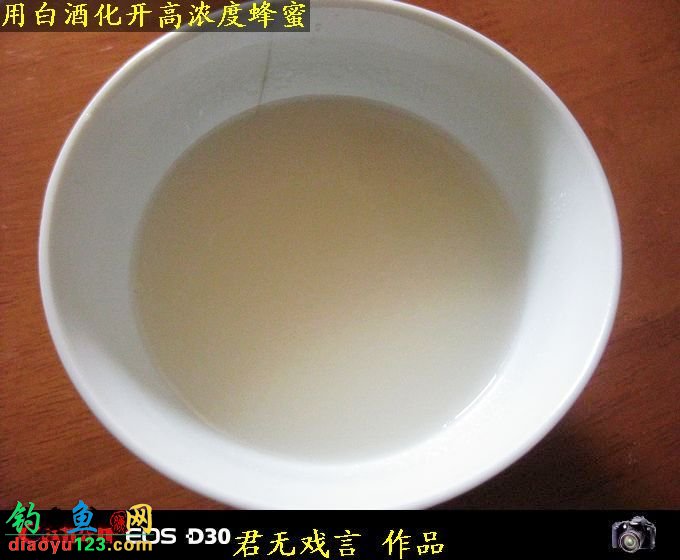
- Add the 1 ounce of honey. Stir it up until the honey is fully dissolved—this might take a minute, so be patient.
- Put the lid on the bottle and shake it like crazy for 30 seconds. You want everything to mix evenly.
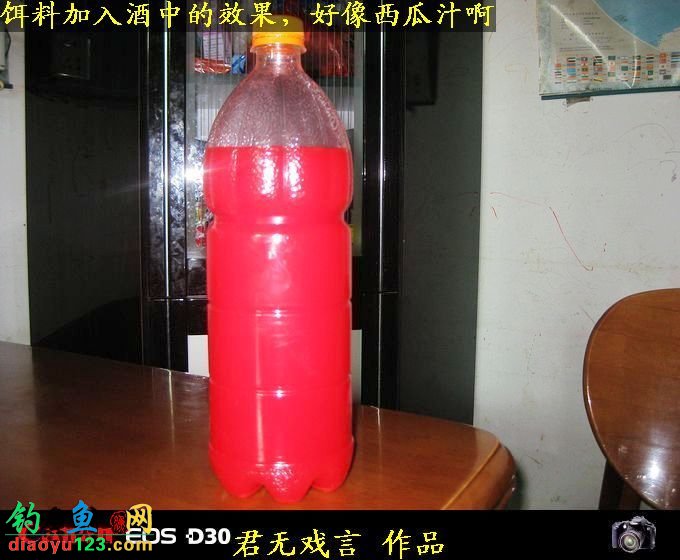
Why bourbon and honey? The alcohol helps break down the ingredients and carry the scent through the water. The honey adds a sweet smell that fish can’t resist—think of it as their version of candy.
Step 2: Add the Commercial Chum (The Secret Boost)
Now, we’re going to add the commercial chum packets to our liquid mix. This step is what makes the chum extra effective, in my opinion. Here’s what to do:
- Open all 5 chum packets and pour them into the bottle with the bourbon and honey.
- Put the lid back on and shake it again—hard! You want the chum to dissolve as much as possible into the liquid.
- Let this mixture sit for 24 hours. Yep, you read that right—let it marinate. Every few hours, give it a quick shake to keep things mixed up. This lets the scents and flavors meld together perfectly.
I know waiting 24 hours is a bummer, but trust me—it’s worth it. When I skipped this step once, the chum didn’t work nearly as well. The extra time lets the commercial chum’s attractants infuse the liquid, making the whole mix way more potent.
Step 3: Mix in the Cracked Corn (The Base)
Now, it’s time to add the star of the show—cracked corn. This is what gives the chum bulk and makes it last longer in the water. Here’s how:
- Pour the 5-6 pounds of cracked corn into your large plastic bucket.
- Take your pre-mixed liquid (the bourbon, honey, and chum mixture) and pour it over the corn.
- Stir everything together with your spoon or stir stick until every kernel of corn is coated. You want the liquid to soak into the corn as much as possible.
- Put the lid on the bucket and seal it tight. Now, here’s a pro tip: Every time you walk past the bucket (like when you’re grabbing a snack or heading out to fish), give it a quick shake. This keeps the liquid evenly distributed and helps the corn absorb all the good stuff.
How long do you let it sit? I usually let mine sit for 2-3 days before using it. The longer it sits, the more the scent penetrates the corn. But if you’re in a hurry, you can use it after 24 hours—just know it might not be as potent.
Pro Tips for Using Your Homemade Fishing Chum
Okay, you’ve made your chum—now what? Here are a few tips to make sure it works as well as possible:
Tip 1: Mix with Local Bait for Extra Attraction
When you’re at the lake or river, don’t just throw the chum straight into the water. Mix it with a little bit of local bait—like worms, minnows, or even some of the store-bought chum you might have leftover. This helps the chum blend in with the natural food sources in the water, making the fish less suspicious.
For example, last week I mixed my homemade chum with a handful of worms and some cornmeal. Within 10 minutes, I had a 12-inch bass on the line. It was insane!
Tip 2: Use a Chum Bag or Spreader to Dispense It
Don’t just dump the chum into the water—use a chum bag or a spreader to distribute it evenly. This creates a “scent trail” that leads fish right to your bait. I like to use a mesh chum bag because it lets the scent escape slowly, making the chum last longer.
Pro tip: If you don’t have a chum bag, you can use a old pantyhose or a mesh laundry bag. Just tie it closed with a string and toss it in the water. It works just as well!
Tip 3: Adjust the Mix for Different Fish Species
Not all fish like the same thing! If you’re targeting trout, add a little garlic powder to the mix—trout go crazy for garlic. If you’re after catfish, add some canned tuna or shrimp (just make sure to drain the juice first). For bass, stick with the sweet bourbon and honey mix—they love that sweet scent.
I learned this the hard way. Once, I used my regular chum mix for trout and got nothing. The next time, I added garlic powder, and I caught 3 trout in an hour. Game changer!
What Happened When I Tested My Homemade Chum (Spoiler: It Worked!)
Let me tell you about my first time using this chum. I was fishing at my local lake, which is known for bass and bluegill. I mixed my homemade chum with a few worms and spread it out with a chum bag. Within 15 minutes, I saw a school of bluegill swimming around the chum bag. Then, a big bass came in and started chasing them. I cast my line with a worm, and within 5 minutes, I had a 15-inch bass on the line. It was the biggest bass I’d ever caught!
Since then, I’ve used this chum every time I go fishing, and I’ve caught everything from bluegill to catfish. It’s become my go-to, and I even make extra to give to my fishing buddies. They all say it’s the best chum they’ve ever used.
Here are a few photos of my chum-making process (and a pic of that big bass!):


Final Thoughts: Is Homemade Fishing Chum Worth the Effort?
Absolutely. Even though it takes a little time to make (and wait for it to marinate), the results are totally worth it. I’ve saved so much money on store-bought chum, and I’ve caught more fish than ever before. Plus, there’s something satisfying about catching a fish with chum you made yourself. It’s like a little victory every time.
If you’re on the fence about trying homemade chum, just go for it. Start with this recipe— it’s simple, cheap, and effective. And if you tweak it for your local fish species, even better! Let me know in the comments (if this were a blog) how it works for you—I’d love to hear your stories.
Happy fishing, everyone! And may your chum always bring in the big ones.
")

