

Don’t Throw Away Old Fishing Rods—Shorten Them and Keep Fishing!
Let’s be real—if you’re a seasoned angler, you’ve got a pile of old fishing rods collecting dust in your garage, basement, or even the back of your truck. Maybe they’re too heavy, don’t feel right in your hands, or have a broken section you can’t replace. I’ve been there too! A few years back, I bought a short-section rod that everyone raved about… but turns out, it’s “tippy” (you know, the heavy end that makes casting a pain) and has zero feel. So instead of letting it rot, I decided to give it a new life: shorten it! And guess what? It works like a charm for close-quarters fishing or catching small panfish. Let me walk you through how I did it—no fancy tools, just stuff you probably already have lying around.
Why Shorten an Old Fishing Rod? (Spoiler: It’s Way Cheaper Than Buying New!)
First off, let’s talk about the “why.” Why bother with an old rod when you can hit the store and grab a shiny new one? Well, for starters, fishing gear is EXPENSIVE. A good rod can cost $100+, and if you’re just testing the waters (pun intended) with close-range fishing, that’s a waste. Here are my top reasons to give your old rod a makeover:
- Save money: No need to shell out cash for a new rod when you’ve got one gathering cobwebs.
- Custom fit: Make it exactly the length you need (I went with 2.2m and 2.8m—perfect for tight spots).
- Reduce waste: Let’s be eco-friendly! Instead of tossing a perfectly good (but unuseable) rod, repurpose it.
- Fun project: C’mon, who doesn’t love a DIY challenge? It’s way more satisfying than buying off the shelf.
And let’s not forget—short rods are *way* easier to handle in tight spaces, like when you’re fishing near docks, reeds, or small ponds. You don’t have to worry about whacking your rod on a tree or a nearby angler (we’ve all been that guy).
What You’ll Need (Stuff You Probably Already Own!)
You don’t need a fancy workshop or expensive tools for this project. I raided my junk drawer and garage and found everything I needed in 5 minutes. Here’s the list:
- A roll of electrical tape (waterproof = bonus)
- A pair of scissors (sharp ones—you’ll be cutting plastic)
- 502 glue (or any super glue—just make sure it’s strong)
- A float tube (you know, the ones that come with cheap floats? I got mine free with a float set)
- A toothpick bag (yes, the ones from takeout! I used a leftover bag from my last pizza order)
- A free rod stop (I stole mine from an old rod—you can also make one with tape if you don’t have it)
- Your old, unused fishing rod (duh!)
Pro tip: If you don’t have a float tube, you can use a small plastic pipe (like a PVC pipe cut to size) or even a empty pen tube. But the float tube is perfect because it’s already the right shape and size.
Step-by-Step: How to Shorten Your Old Fishing Rod
Okay, let’s get to the fun part! I’m going to break this down into simple steps—no confusing jargon, just plain English. Let’s go!
Step 1: Prep Your Old Rod (Pick the Right Sections)
First, grab your old rod and pull out the sections you want to use. For close-range fishing, 2.7m to 3.6m is ideal, but I went with shorter lengths (2.2m and 2.8m) because I wanted something super compact. Just make sure the sections you pick are in good shape—no cracks, no broken guides (you can replace guides later if needed, but for this project, let’s keep it simple).
Once you’ve picked your sections, set them aside. Now, let’s work on the float tube.
Step 2: Prep the Float Tube (Your New Rod Handle!)
The float tube is going to be your new rod handle—genius, right? Here’s how to prep it:
- Take the cap off the float tube. Drip a circle of 502 glue around the inside of the tube where the cap goes, then push the cap back on. Then, add another circle of glue around the outside of the cap-tube connection. Let it dry for 10-15 minutes (I grabbed a snack while I waited—no shame).
- Once the glue is dry, wrap electrical tape around the float tube. This does two things: it makes the handle more comfortable to hold, and it waterproofs the tube (so water doesn’t get inside and rot your rod). Wrap it tightly, but not too tight—you don’t want to crush the tube.
- If your float tube is too long (mine was!), cut it to size. Use sharp scissors: first, make a small cut around the tube (like you’re cutting a cake), then keep cutting deeper until it snaps. Don’t try to hack it off—you’ll end up with a jagged edge. Take your time!
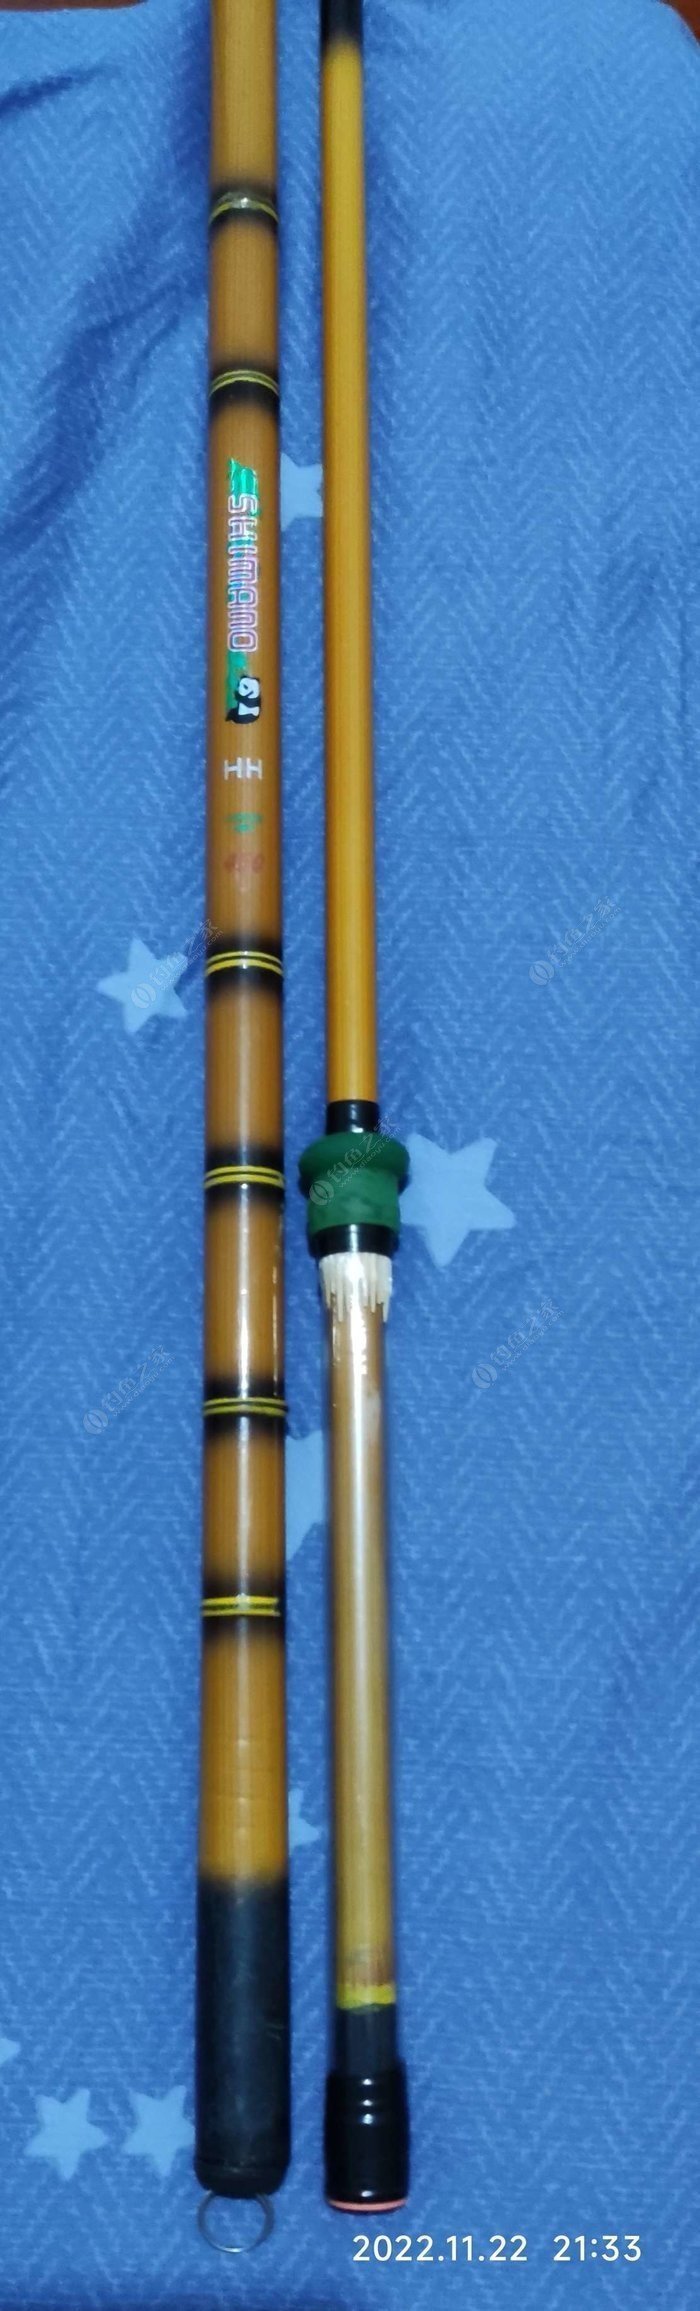
Step 3: Attach the Rod Sections to the Float Tube
Now, let’s connect the rod to the handle. This is the tricky part, but it’s easy once you get the hang of it:
- Take your shortest rod section (the one that will go into the handle) and slide it into the float tube. Twist it gently until it feels tight—you don’t want it wiggling around.
- Here’s the secret to keeping it secure: grab the toothpicks from your takeout bag and break them in half. You’ll need about 12 toothpicks (I counted—trust me). Stick the broken toothpicks around the gap between the rod section and the float tube. Push them in as tight as you can—you want the rod to feel solid, no movement.
- To make sure the toothpicks stay in place, you can drip a little 502 glue on them. I didn’t do this at first because I wanted to be able to adjust the rod later, but if you want a permanent fix, go for it! Just be careful—super glue sticks to everything (including your fingers).
Pro tip: If you don’t have toothpicks, you can use small wooden dowels or even rolled-up paper (but toothpicks are free and easy). Just make sure whatever you use is strong enough to hold the rod in place.

Step 4: Finish Up (Tape It and Add the Rod Stop)
Almost done! Now, let’s make the handle look (and feel) perfect:
- Wrap more electrical tape around the top of the float tube (where the rod section meets the handle). This will cover the toothpicks and make the handle smooth. Wrap it tightly, overlapping the tape each time—you don’t want any gaps.
- Add your rod stop. The rod stop is the little rubber thing that keeps your reel from sliding down the rod. If you don’t have one, you can make one with electrical tape: just wrap a few layers of tape around the rod (above the handle) until it’s thick enough to hold the reel in place.
And that’s it! Your old rod is now a brand-new (to you) short rod. Let’s test it out!
Testing the Shortened Rod (Spoiler: It Works!)
I couldn’t wait to try my new rod, so I grabbed my float set (you know, the ones that came with the float tube) and headed to the local pond. Here’s what happened:
- Casting was a breeze! The short length meant I didn’t have to worry about hitting trees or reeds. I could cast right up to the dock where the fish were hiding.
- Feeling the bite was way better than my old heavy rod. I could feel every little nibble from the bluegills and sunfish.
- It was super light! I fished for 3 hours straight and my arm didn’t hurt at all (win!).
Okay, I’ll admit—there was one tiny problem: the short sections can get stuck sometimes (you know, when you cast and the rod doesn’t fully extend). But that’s a small price to pay for a free rod! I just give it a little tap on the ground and it pops right out.
Pro Tips for Your DIY Short Rod
Before you go, here are a few tips I learned the hard way:
- Don’t use too much glue! If you glue the rod section to the handle, you can’t adjust it later. I’m glad I didn’t glue mine—now I can make it longer or shorter if I want.
- Use waterproof tape! Regular tape will get soggy and fall off after a few trips. Electrical tape is cheap and works great.
- Test the rod before you go fishing! Cast it a few times in your backyard to make sure it’s secure. You don’t want your rod flying off into the water mid-cast (trust me, that’s a bad day).
- Replace the guides if needed! If your old rod has broken or rusty guides, you can buy replacement guides for a few dollars. It’s easy to do—just glue them on with super glue.
And one last thing: have fun with it! This is a DIY project, so it doesn’t have to be perfect. My first attempt was a little wobbly, but I fixed it with more toothpicks. The best part is knowing you made something useful out of nothing.
Now, go grab that old rod from your garage, raid your junk drawer, and get fishing! Let me know how it goes—tag me in your fishing photos if you try it. Tight lines!


")

